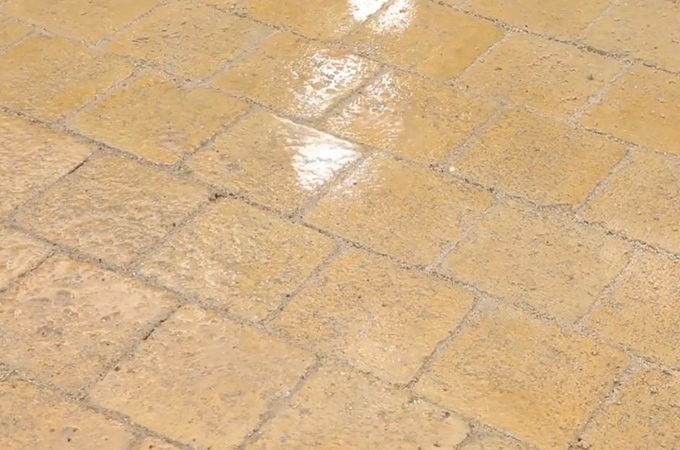
How to lay paving stones
How to lay paving stones for a driveway or paved terrace

1. The right tools
You will need two rafters, joists or battens, some geotextile membrane, sand paving stones of your choice, cement and posts.
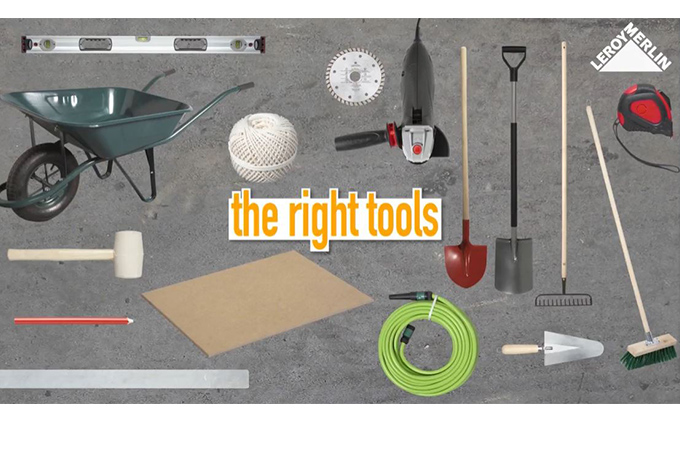
You will need a tape measure, a pencil, a spirit level, a spade, a shovel, a trowel, a wheelbarrow, a rake, a broom, a Mason's ruler, a rubber mallet, an angle grinder with a diamond disc, a ball of string, a board and a hose pipe.
You will need kneepads, heavy-duty gloves, safety goggles, a dust mask and earplugs.
2. Laying the foundation
In order to locate firm and stable foundations on the site you have excavated, use a geotextile membrane to reinforce the base and strengthen the whole area preventing the regrowth of weeds. Spread a layer of sand three or four centimeters thick and place your paving stones on top tapping them into place with a mallet to seat them firmly.
TIP
If the site is larger where for example for arable or vegetable farming, you should put down an initial layer before adding the bed of sand. For that you should use hardcore or aggregate, for example a mixture of gravel and cement.
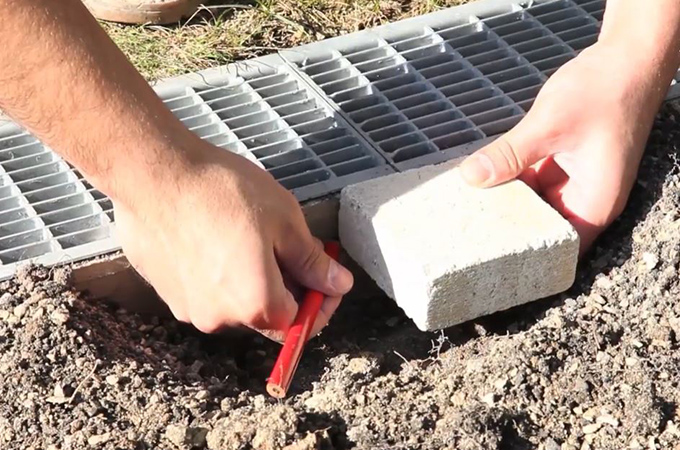
If a gutter borders the surface of our cladding, mark the thickness of a single paving stone then the level of a sand for the foundation. Then add one centimeter to allow for any settling during the work and the thickness of the geotextile membrane.
Dig out the soil and rake it to make it level. If need be tamp the surface and check the level with a Mason's ruler and spirit level. Create a slope 2 centimeters per meter down towards the gutter or the garden to help drain rainwater.
TIP
A laser level will help check the levels.


3. Borders
It's a good idea to mark out the borders before laying the paving stones. You could lay a row of paving stones all around or use another border of your choice. To reduce the number of cuts, place a dummy row of stones in your planned driveway or terrace.
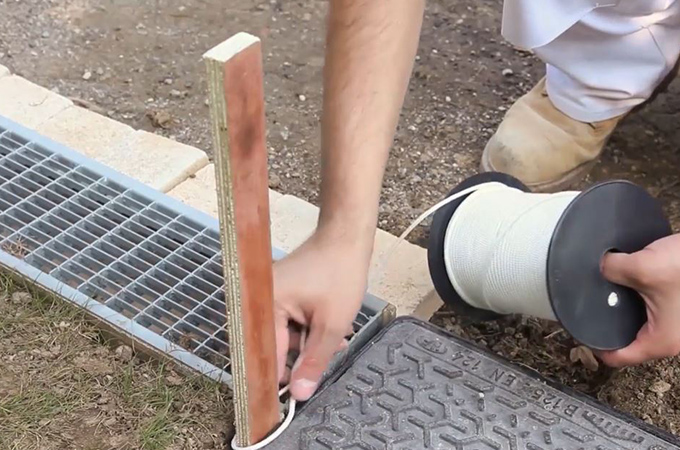
Once you have marked out the borders mark where you will put the stones with string. Lay the paving stones on a bed of mortar so they are just touching the extent of the soil making sure they maintain the slope of 2 centimeters per meter to help drain rainwater.
On the side of the garden make a discreet cement buffer at the top of the border. Once the edges are filled in, the buffer will be invisible.
4. The bed of sand
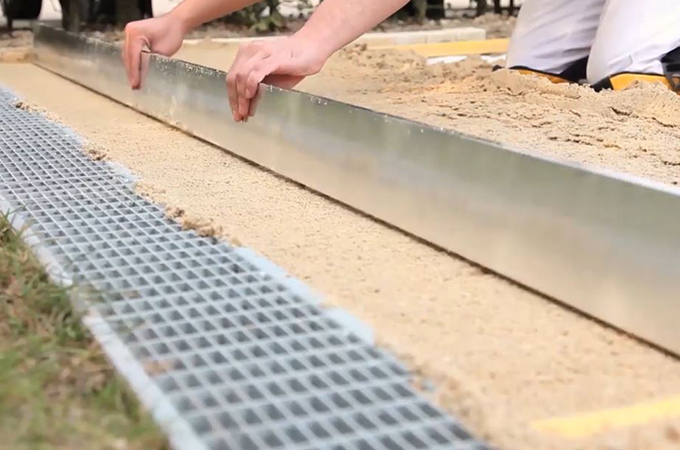
Cover the area you are going to pave with geotextile membrane overlapping each width by 10 centimeters. Here and there in the area to be paved, place a wooden rafter or batten on top of the bed of sand three or four centimeters above the geotextile membrane. Check these wooden guides have a slope of two centimeters per meter towards the gutter or garden to help drain rainwater.
Pour the sand onto the geotextile membrane and spread it out roughly between the guides with a spade then level it pulling the ruler towards you with a to and fro movement leaning on the wooden guides. Fill any holes that might appear with the trowel as you move across the bed of sand. Remove the wooden rafters and fill the holes using the trowel.


5. Lay the paving stones
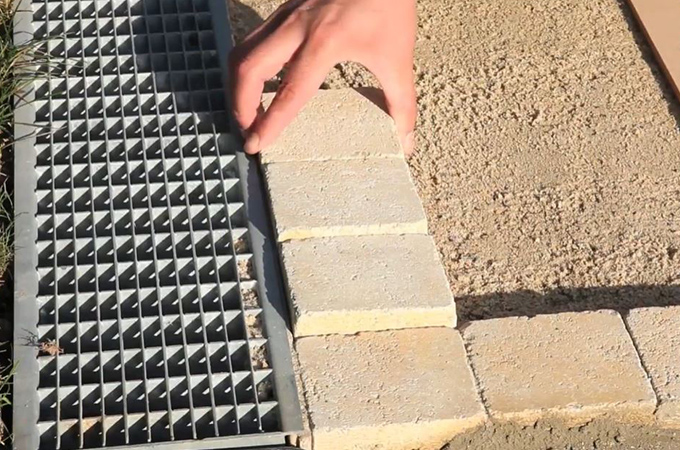
While working on the sand, kneel on a longboard to avoid spoiling the surface. Start by placing the paving stones end-to-end on the sand beginning at one of the borders. Using the mallet, knock each of the stones about one centimeter into the sand making sure you maintain the slight angle to aid drainage. Place the stones in a brick bond pattern in the second row. For square paved areas you will have to cut a stone in half to start the next row.
Mark the cut line. wedge the paving stone on the ground and cut with an angle grinder and diamond disc. To ensure all the stones are the same height as well as keeping the slight angle it is easier to lay a coin of two or three rows of paving stones.
Check none of the stones projects above the surface. Tamp down any that are proud so your surface is completely flat. As much as possible work from an already paved area still kneeling on the long wide board to avoid making the paving stone sink.
6. Finishing touches
You can fill the gaps between paving stones with sand or polymer sand for joints of three to ten millimeters. Using the back of the broom spread the sand and then brush in all directions to fill the gaps.
Sprinkle with water to fill in the gaps with sand. When they are arranged into a terrace or driveway, paving stones add a real sense of style to your garden.
Still not sure on how to go about this? Please check out our video over here.
