Installing a single split aircon unit
How to install single split air conditioning unit
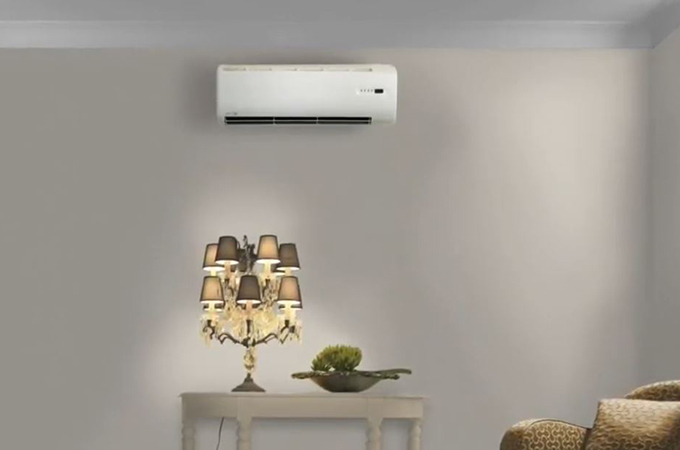
Whether it is cooling the air in Summer or Heating it in winter, air conditioning brings an undeniable comfort to your home.
The installation of the equipment is a straight-forward do-it-yourself project but it should be checked afterwards by a professional to carry out the final connections which is a legal requirement and also needed to conform with the terms of the manufacturer's guarantee.


1. The right tools
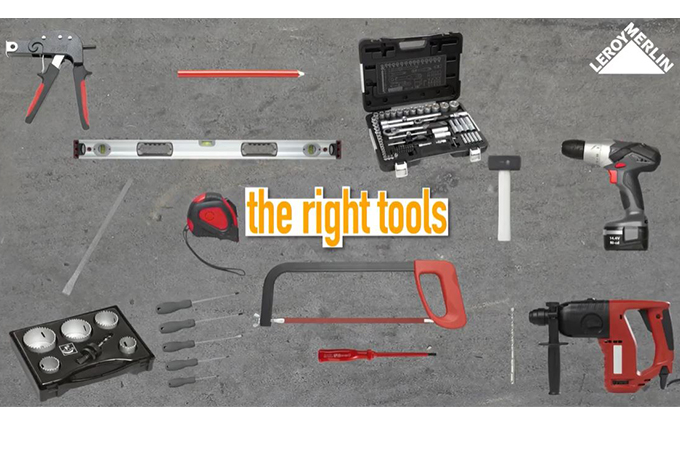
You will need a single split air conditioning system, two plinths, some trunking, wall plugs suitable for the type of wall, some polyurethane foam and pipe cluster insulation. You will need a tape measure, a pencil, a spirit level, a hammer, drill and drill bit, a cordless drill, a hacksaw and a hole scatter. A cold chisel, a mallet, a socket set, possibly an expanding wall anchor setting a selection of screwdrivers and an electrician screwdriver.
You should wear safety goggles a dust mask protective earplugs and gloves when drilling the wall. In accordance with environmental protection laws, only a qualified professional is permitted to connect up refrigerant bearing pipes even if the pipes for this particular model may be joined without using solder making the connections as simple as possible.
Nonetheless, you are obliged to have the connections completed by a professional.
2. Where to locate all the components
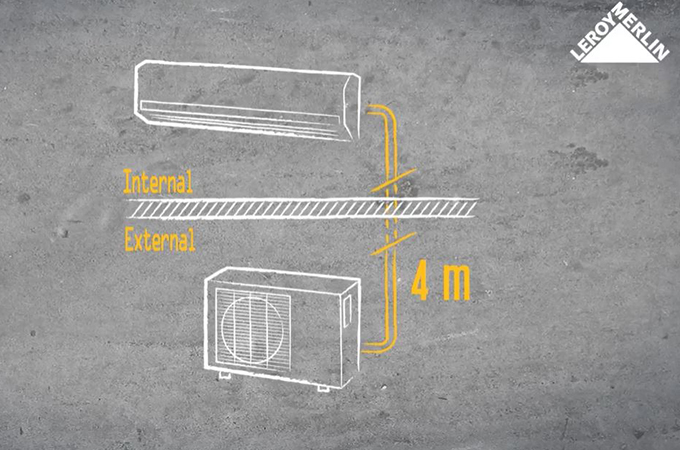
The air-conditioning unit is made up of an interior unit and an exterior unit or condenser and a coolant pipe cluster joining the two units together. Since the pipe cluster is four metres long, you must plan the installation carefully. The internal unit this should be placed high upon a wall at least 15 centimeters from the ceiling to ensure there is free space of more than 12 centimeters all round.
Given the length of the connection chamber, you should not locate it too far from the external wall the condenser. The condenser is usually placed on the wall held up by a support anchored into the brickwork. In some examples, the manufacturer intends the unit to be placed on the ground. This prevents vibrations being transmitted through the brickwork.
Allow 30 centimeters of free space at the back, more than 60 centimeters on the right-hand side, more than 30 centimeters on the left-hand side and a minimum of 200 centimeters in
front.
TIP
If you want to install your condenser under a canopy you should leave at least 60 centimetres gap between the two.


3. How to install the air conditioning unit?
The electrical power supply, the pipe cluster between the two units includes an electric cable joining them together. It is therefore the internal unit which must be connected to the mains power supply. You should install a dedicated electrical power supply near the unit with a 30 milliamp RCD circuit breaker using cables of the right gauge given the power consumption of the equipment.
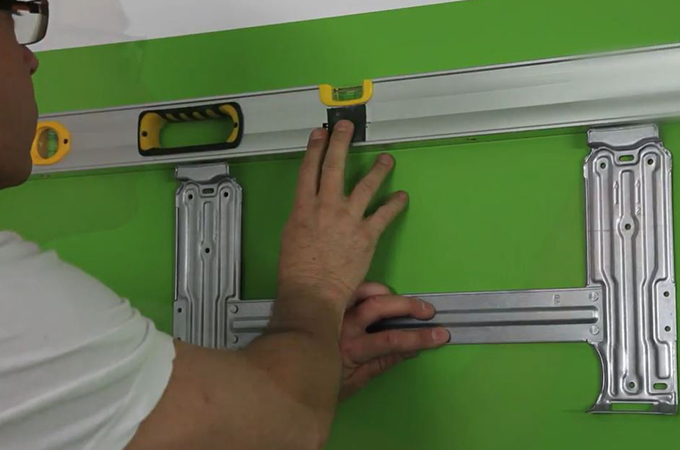
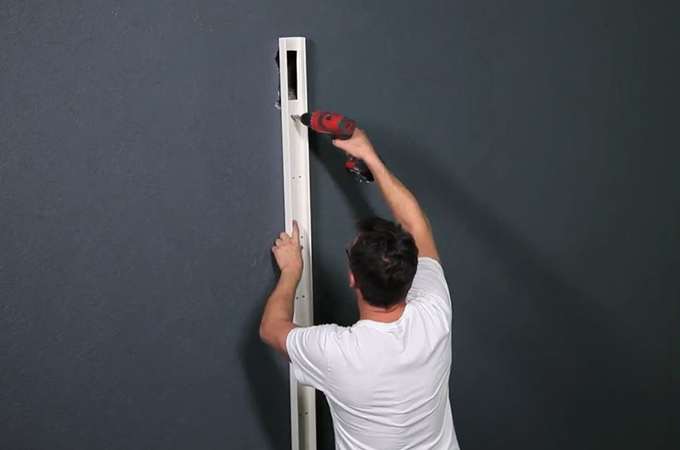
Installing the support for the internal unit, position the wall support bracket at the required height. Check that it is horizontal using a spirit level and then mark the drill points. Drill the holes for the wall plugs. Push the plugs in fully. Put the brackets in position and screw them in place feeding the pipe cluster through the wall. Mark the exit point for the pipe cluster and drain pipe using the template supplied with your installation instructions. Make the initial hole in the wall with the hole cutter and then use a long masonry drill bit to drill all the way through the wall. It's a good idea to drill at a slight downward angle of around five degrees towards the outside.
TIP
The slight slope will help condensation water to drain away. Here you need an 85 millimeter diameter hole using a ring bit and a hammer drill of at least 800 watts. Otherwise drill a round cluster of holes with a small masonry bit.
From the outside, clear away the debris in the hole with a cold chisel.
4. Attaching the internal unit
Cut the trunk into size and place it in the hole as a preparation for the pipe attaching the internal unit. Gently unroll the pipe cluster and insert it into the hole in the wall.
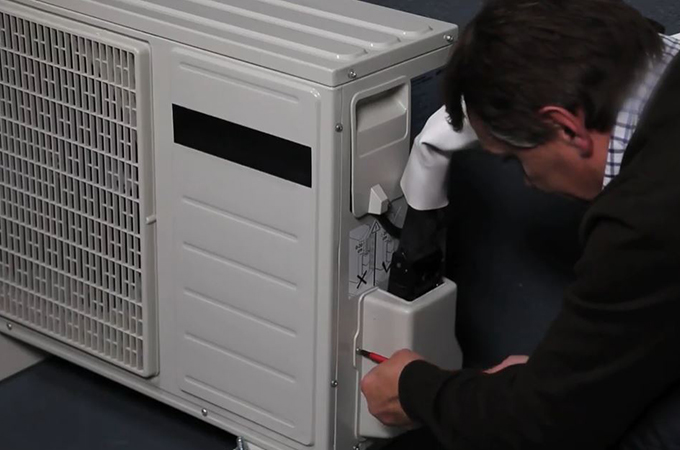
Take great care as the annealed copper can only be shaped once and then only by taking great care to avoid folding it, cover the joint with a plastic bag when you insert it in the wall. Insert the pipe cluster and the drain into the hole. Position the unit opposite the cover and feed the pipe cluster through the hole. Attach the top part of the unit onto the hooks of the cover and gently let it go installing the condenser. Place the condenser on a solid support preferably a little higher than ground level.
Pay close attention to the amount of free space recommended in your installation instructions for the equipment to comply with the terms of the manufacturer's guarantee. Pipe cluster must be connected by a certified technician.


5. The role of the professional
The role of the professional remove the protective barn covering the nozzle inlets.
Connect up the electrical power then the coolant cable. Replace the protective covers. All that is necessary to do now is to insulate the pipe cluster and the drain plug. The hole in the brickwork using polyurethane foam and place the cap on the trunking.
The air-conditioning unit is classed as an item of pressurised equipment as a result it must be serviced by a certified professional once per year. The installation is simple enough to be a do-it-yourself project but the job must be commissioned by certified technician in order to comply with prevailing legal requirements as well as satisfying the terms of the manufacturer's guarantee.
