Make a teepee bed for the kids
Get ready to brighten the day for the little ones in the house with this project. You will learn step by step how to make a children's teepee bed, which will serve children both to play, sleep or relax to read. If you like to work wood, it is your project since all the pieces you need to shape it are made of this material.
Materials & Tools needed
- Round wooden slat
- Wood Ribbons
- Plywood board
- The mast
- Nails
- Screws
- Washers
- Brown paper
- Sandpaper block
- Color paint and slate effect
- Mini circular saw
- Hammer drill
- Screwdriver
- Cat or sergeant
- Meter
- Roller, brush and bucket
- Safety glasses
- Set square and pencil
- Hammer
- Gloves

Step 1
The structure of the tipi bed
It is the basis of this project, the structure in which the slatted bed base will be fixed.
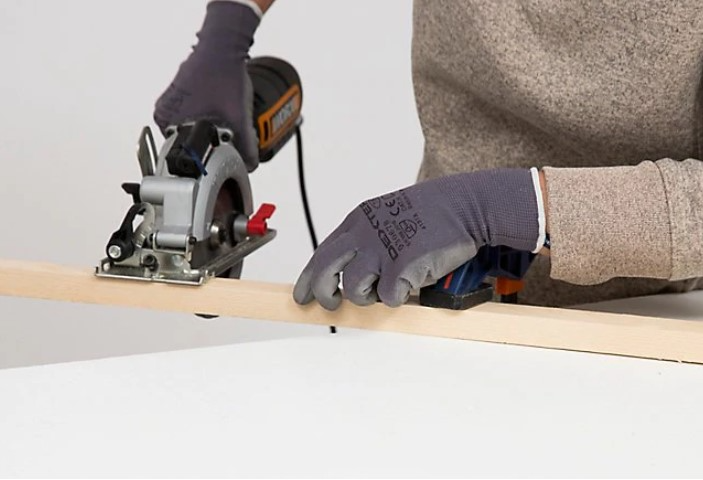
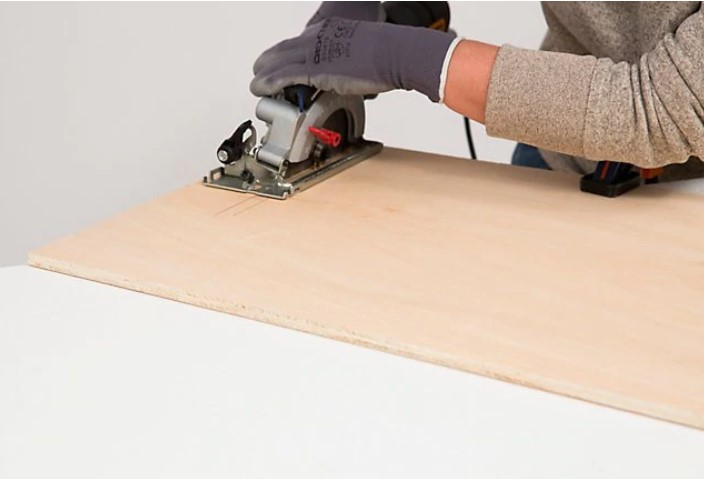
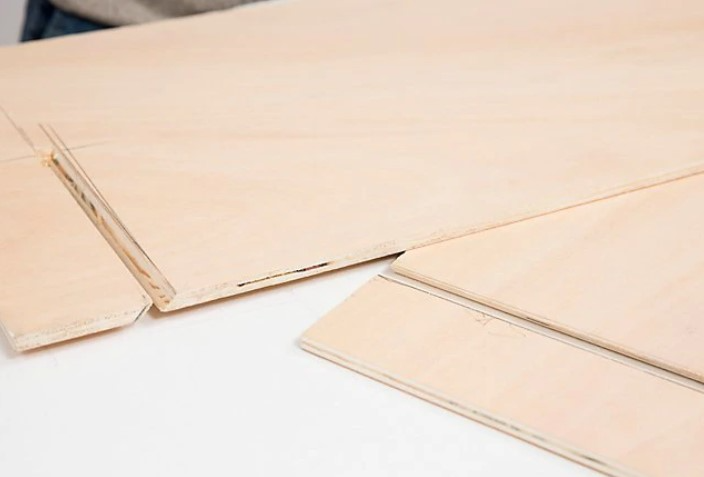
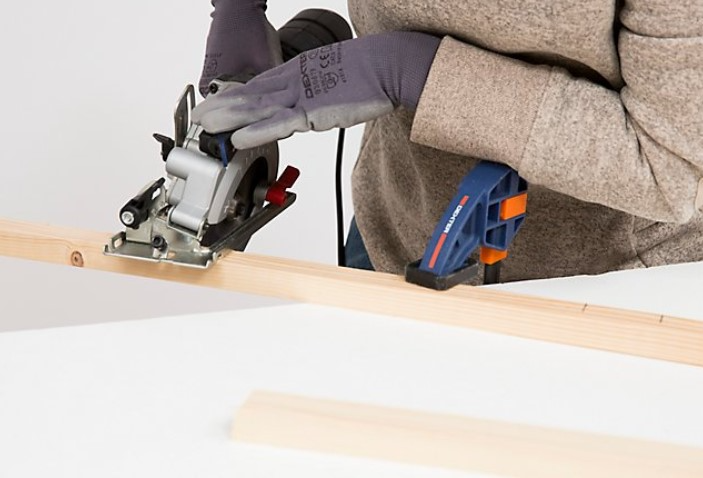
On the boards, measure and mark the lines of the size of the pieces that will shape the structure. If you want it to be the size of a single conventional mattress, this is 90 x 190-200 cm. You will have to mark and cut with the mini circular saw two long pieces and two short ones that will make the rectangle that rests on the ground.
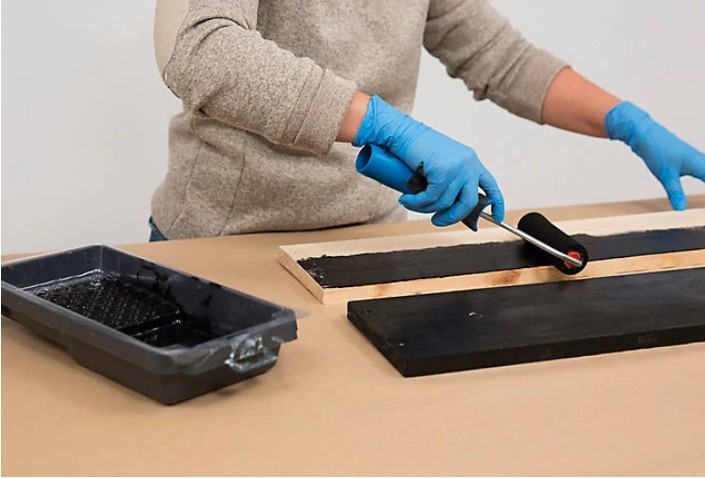
1.2. When you have all 4 pieces of wood cut, use a sandpaper pad to remove cut imperfections and chips. Protect the work surface with paper and with a roller paint with blackboard paint (or with any other color you choose) the exterior faces of the boards. Let it dry from hand to hand for the time indicated by the manufacturer.
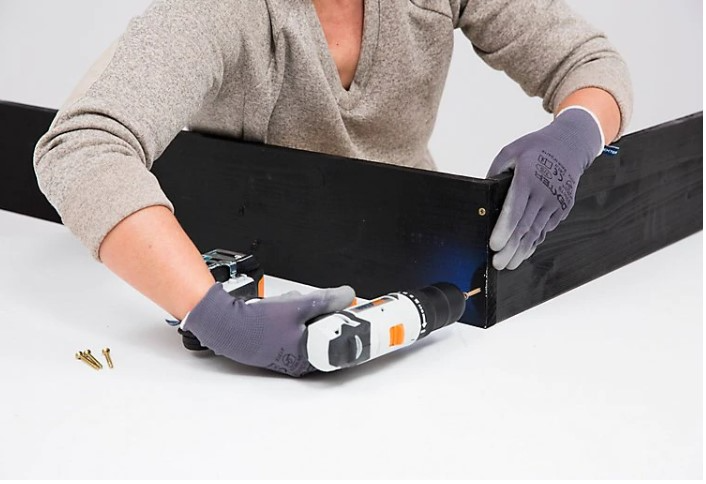
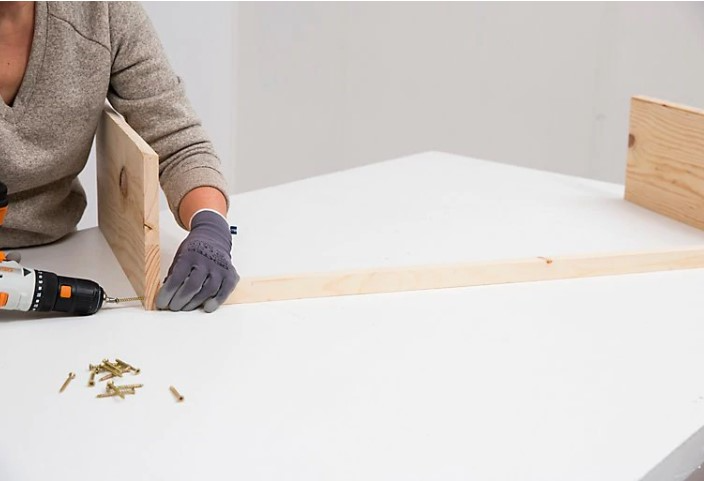
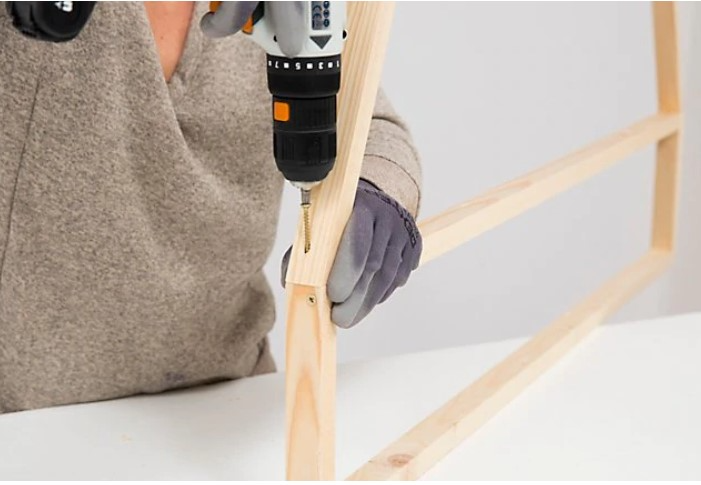
1.3. When the paint is dry, you can join the pieces together with screws at the ends that go through the two pieces, as you see in the image. First, pose the position of the boards, join with jacks or sergeants, and make a hole with the bit. Then screw.
Step 2
The tipi bed base
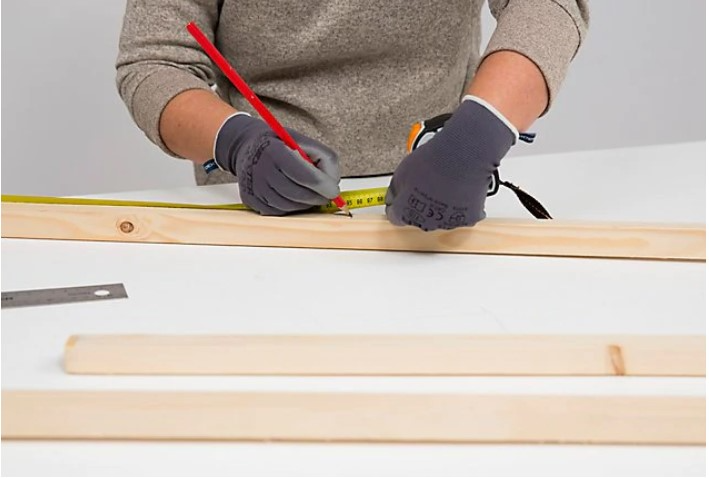
2.1. Measure the interior size of the structure or base already made to know what size the slatted bed base will have, since it will be "embedded" inside it. Transfer the measurements to the wooden slats and cut 4 slats, two long and two short, with the circular saw.
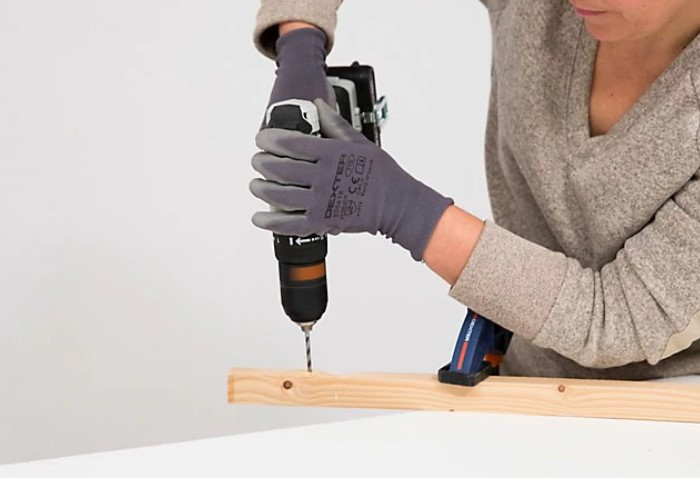
2.2. Join the cut slats together as explained in point 1.3., First drilling a hole and then inserting a screw.
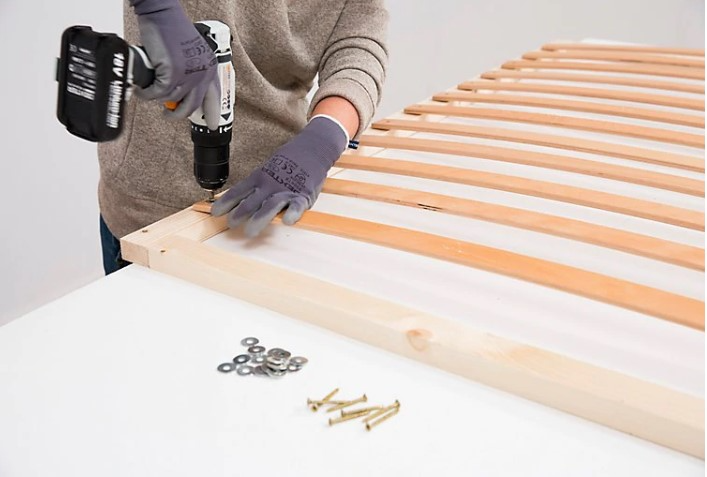
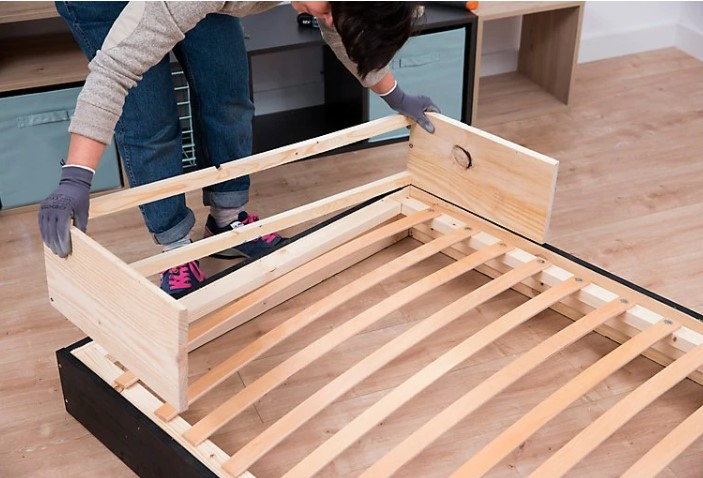
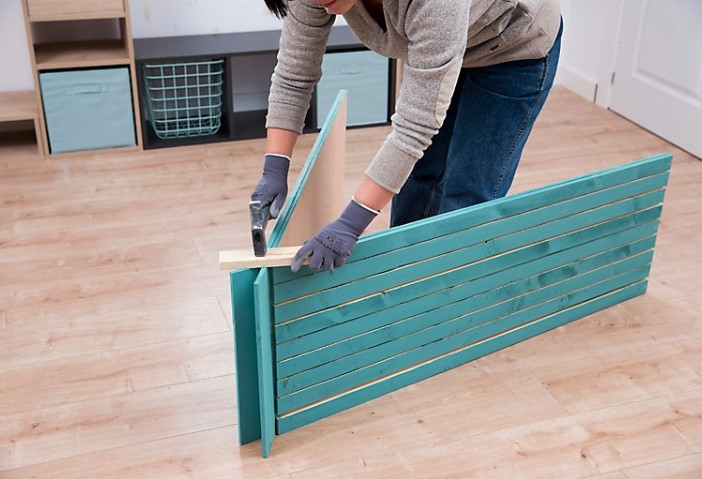
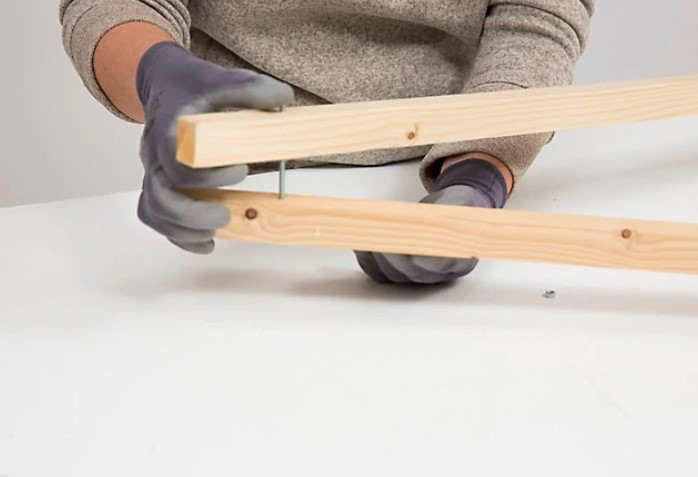
2.3. Now you can fix the slatted base slats with screws (place a washer between the screw and the slat) to the slatted structure. Measure the total length and divide by the width of each strip to know how many you will need. Place them equidistant as you see in the image.

Step 3
The base on which the bed base will rest
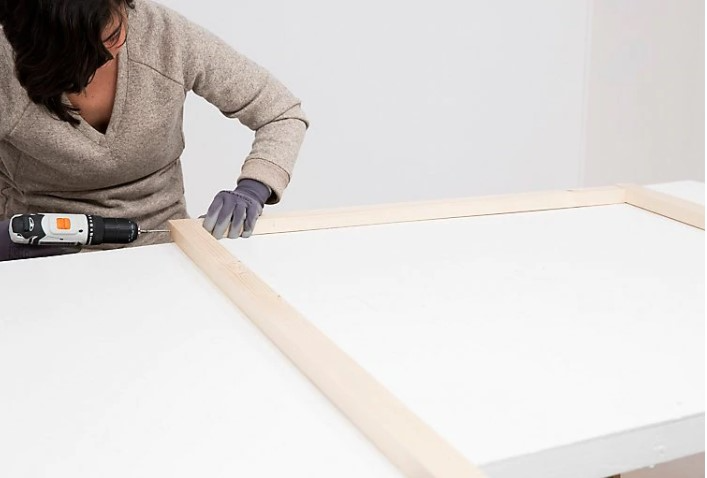
3.1. The next step is to place support strips on the bed frame to support the bed base. Ideally, the slats should be flush with the structure so that when you place the mattress, it is slightly tucked in. To do this you must cut two long slats (the same length as the interior measurement you took to make the bed base) and fix them with screws to the structure of the teepee bed.
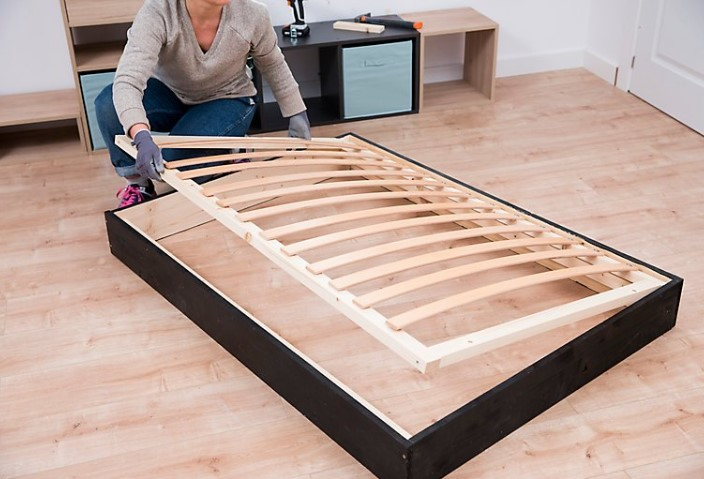
3.2. Put the box spring into position.
Step 4
The head of the teepee bed
We are going to make the piece that will make the headboard of the tipi bed, which will be placed at one end of the base structure and on which the slats will support as a roof or tipi.
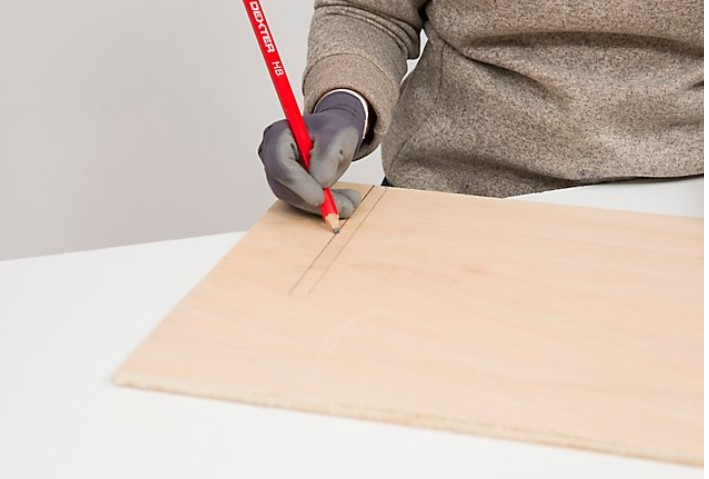
4.1. Mark on a wooden board the measurements of the two side pieces, of identical size, which will raise the structure by at least 20 cm and "save" the height of the mattress.
4.2. Also indicate on the wooden slat the width of the structure. You will need two equal pieces that will be located between the two you just marked on the board, as a headboard.
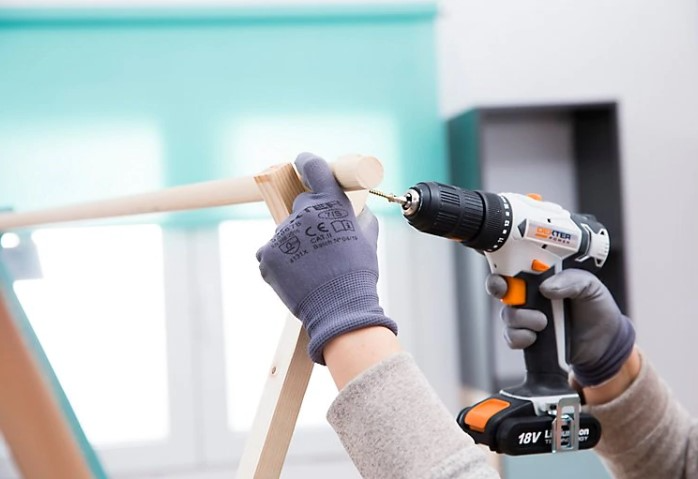
4.3. Cut with the mini circular saw, gently sand the edges to remove imperfections and join the pieces together as you see in this step, fixing them with a screw that goes through the board and batten on each side (previously fix the pieces with a sarento and make the hole with drill and bit).
4.4. It raises the piece on the structure or base of the tipi and fixed bed.
Step 5
The wooden teepee
Next you will have to make the teepee, made up of two pieces of wood that fit one into the other like a puzzle in the shape of a tent.
5.1. Cut two narrow pieces of wood board the height you want the teepee to be. Mark on the wood and cut with the mini circular saw.
5.2. Once you have the two pieces of the tipi you must make the recess so that they fit one into the other. To do this, mark a line 10 cm from the upper edge and draw a parallel one, respecting the thickness measurement of the board you have chosen. The length of the recess must be a little less than half the width of the board in one of the pieces and the remaining short measure, on the contrary. Make a cut with the saw on each of the lines drawn.

With the screwdriver and hammer, rasp or file, finish off the cut at the final end to make the cut strip of wood come out.
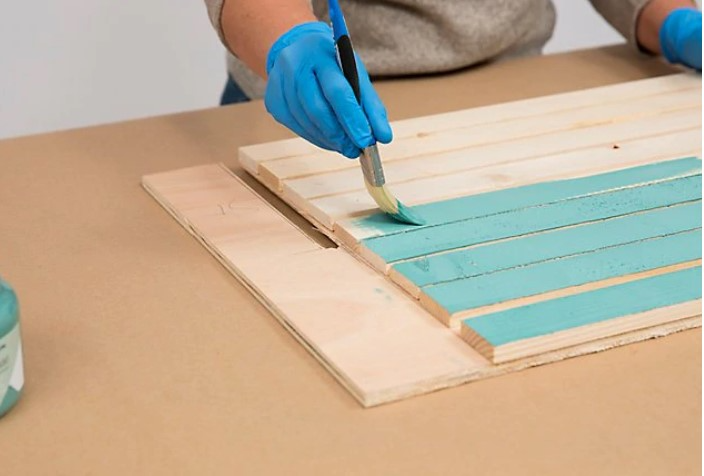
5.4. When you have all installed, cover the work surface with brown paper and paint them.
5.5. Now you can assemble the two pieces of the tipi together. You can gently hammer on the joint to get them into each other well. To do this, place a piece of wood between the boards and the hammer and thus you will not mark the pieces.
Remember that you should make the cut in the same way on the two pieces of wood of the teepee. The marks will be located at the same distance from the top edge but one will have a slightly longer measurement than the other (if the board has a total width of 50 cm, one recess should be 30 cm long and the other 20 cm).
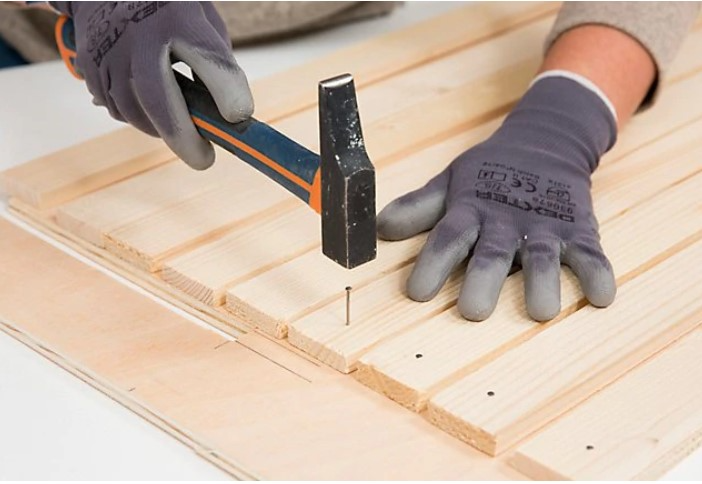
5.3. Now measure the distance between the bottom edge of the piece of wood and the base of the recess. It is the distance that the wooden slats that will decorate the teepee will have. Transfer the measurement to the slats and cut with the saw as many as you need to cover the board. Keep in mind that the strips they decorate must be fixed with nails on the outside of the teepee, which will be visible.
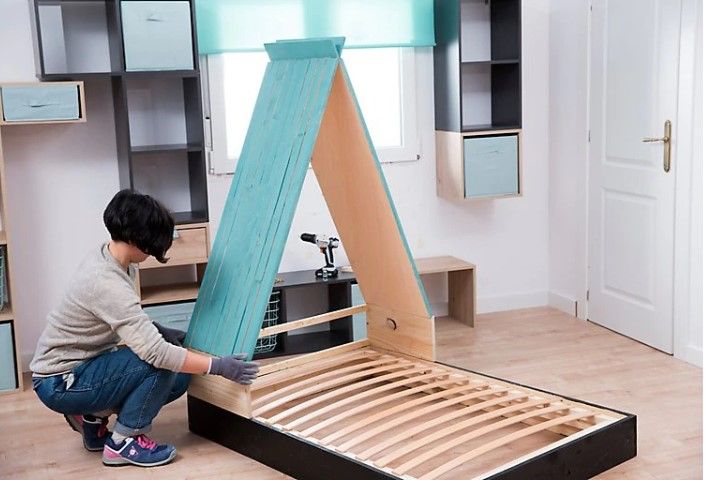
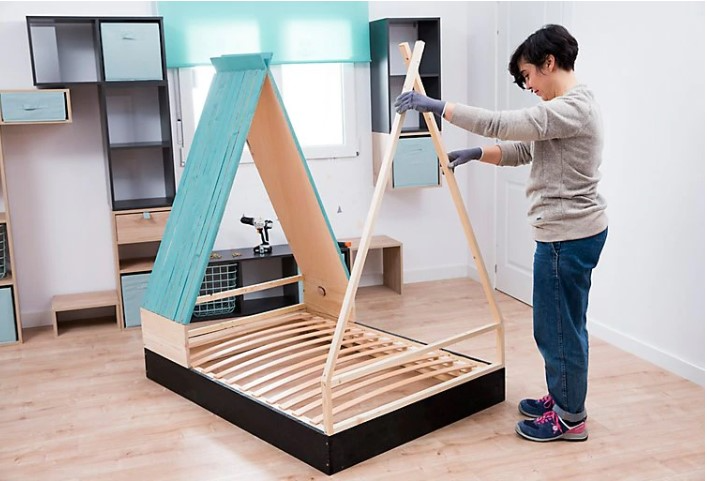
5.6. Raises the teepee on the head of the bed and fixes it.
Step 6
The piece at the foot of the bed
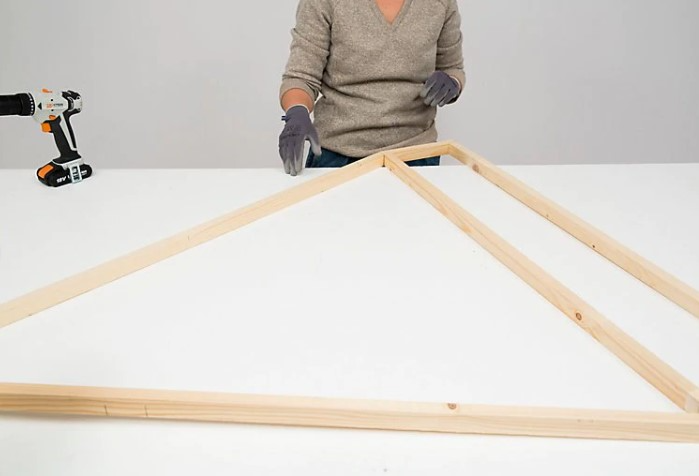
We are going to make the piece that will go at the opposite end of the headboard. This is done with slats, also in the form of a tent or triangle. It will be the same height as the headboard and will serve to hold the circular crossbar of the bed.
6.1. Transfer the measurements you need to the wooden slats and cut with the mini circular saw. You need two pieces the length of the bed frame or base and two the same height as the headboard (the measurements were taken for step 4). In addition, you must cut two ribbons to make the triangle, the same height as the teepee. These last two pieces will have to be cut at one end at an angle - in the next step you will understand why.
6.2. Now shape the piece that will go to the foot of the bed. For this you must join the pieces so that you make a rectangle (the base of the triangle with height to save that of the mattress) with two long and two short pieces, on which the longest slats of the triangle are fixed. These at one end must be cut at an angle to support perfectly. Drill a hole with the drill at the ends, then insert a screw.
6.3. To join the two slats that form the triangle at the highest end, superimpose one on top of the other and mark the point of union so that there is a base to support the circular crossbar. There you will have to make a hole in each of the slats.
6.4 Join the two battens with a pin (thread with nut).
6.5. Now you have the structure as you see here.
6.6. Place the already assembled piece on the bed base and fix it.

Step 7
The circular crossbar
With a circular ribbon you will join the headboard and footboard of the teepee bed. This will serve to give stability to the pieces or, in addition, to hang from it a light fabric as a mosquito net or a pennant or luminous garland.
7.1. Measure the length of the bed and cut the circular ribbon as needed. Support it on the headboard and footboard, as you see here.
7.2. Secure the circular crossbar with a screw to prevent it from falling.