Create a copper table
Having a small accessory table on hand can always be useful to support the computer, a tray or leave small objects. In this project we propose to create our own table in a very simple way following the latest trends in the world of decoration. If you have ever thought about using copper tubes to build your own furniture, but have doubts about their handling, in this project we explain step by step how to make perfect cuts without trying and how to assemble the pieces in a few minutes.
Materials & Tools needed
Legs:
- Four 18mm tubes 70cm long
- Four tubes 30 cm long
- Four tubes 60 cm long
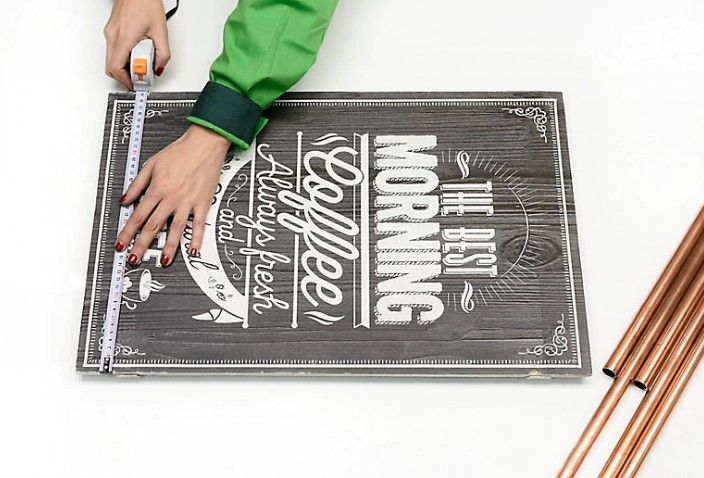
With the help of a meter, mark the lines with a pencil.


Step 1
Take action
This side table can adapt to our needs and the space where you are going to place it. We propose a series of standard measures that you can change depending on your tastes and use. It is important that you cut four tubes with the same width of the wood that you are going to place on the table and another four tubes with the bottom of the same wood.
Step 2
Cut the copper tubes
Use a specific tool to make clean cuts in the copper tubes. With the tube cutter you can make sections in the copper effortlessly and invest only a few minutes in each tube.
Unscrew the tube cutter screw and insert the tube you want to cut into the tool. You don't need to tighten the tool too hard on the tube.
Turn the tool over the tube and lightly tighten it, every two to three turns, until you cut the tube.
Trick for beginners
Copper pipes are usually joined with welds to channel water. In our case, and to facilitate the assembly of our table, we will use hot glue, which is much easier to use and faster. Plug in the glue gun and once it is hot we can glue the various copper pieces that we are going to use to build our structure.
To the T-shaped pieces you have to connect the 90 degree elbows that have two different terminations: a female and a male. These elbows allow you to mount the corners of the table and hold the other two copper tubes 30 cm long for the sides.
Step 3
Assemble the structure
Start at the top of the table, mounting a rectangle on which you will put the wood. Put the two tubes 60 cm long and put the T-shaped piece at each end. In total you have to use four pieces.
Set the table legs. Attach the longest copper tubes to the T-shaped terminations. At the end of each leg, place a female / male elbow to put the two missing tubes for the base of the table.
Step 4
Fix the wood to the structure
Apply the hot glue with the gun.
And fix the wood to the base of copper tubes.
Once this step is finished, you can now put the table in its place and start using it.
For safety, anchor the bookshelf to the wall so that it does not bear the weight.
