Make your own TV Cabinet
Solid, simple and trendy, this TV cabinet is built with solid wood and melamine top. The slanted legs give it that fashionable Nordic air. Learn how to build it!
If you are tired of that dark furniture that occupies half a living room, go ahead and change it for an easy-to-make design that follows the current design trend. The project that you will find below is built with pine wood and melamine boards: we give you the measures so that you bring them already cut from the store.
In addition, we have put some inclined legs to make it more modern and fun. To join the pieces you will only need screws and hinges, in addition to an electric screwdriver. Building this piece of furniture will not take more than a morning, and the result is in sight. You dare?
Materials & Tools needed
- 2 pine boards of 148.5 x 40 x 2.5 cm (length x width x thickness, top and bottom cover)
- 2 pine boards 30 x 40 x 2.5 cm (external sides)
- 2 pine boards of 30 x 40 x 2.5 cm (inner sides)
- 1 chipboard with melamine 78.5 x 39.5 x 2.5 cm in light walnut color (shelf)
- 2 chipboards with melamine measuring 29 x 30 x 1 cm in red color (back side covers)
- 3 chipboards with melamine measuring 30 x 30 x 1 cm in white (central back covers)
- 2 chipboard with melamine 35 x 35 x 1 cm in red (doors)
- 2 wooden handles
- 5 tapered wooden legs with inclined base
- 4-5 cm long wood screws
- 2 cm long wood screws (for legs)
- 4 hinges
- Matt clear acrylic lacquer (recommended)
- Gloves
- Meter
- Squad
- Screwdriver and bits
- Brush
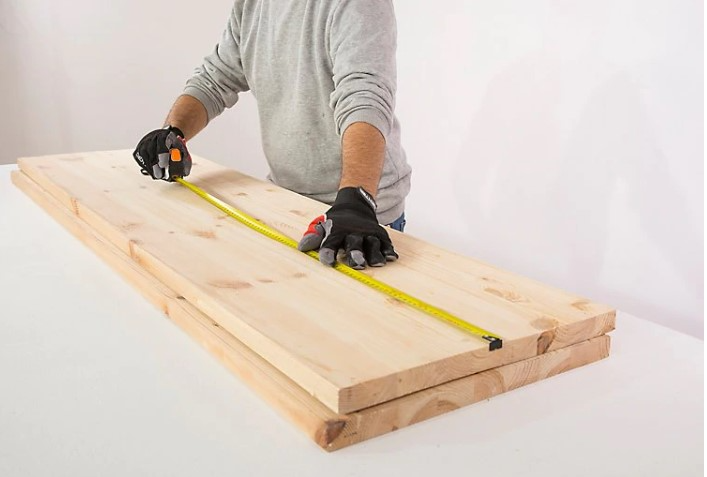

Step 1
How to build the interior compartments
Before creating the body of the furniture, we are going to build the interior T-structure that will separate the spaces. It is as easy as attaching the shelf to the inner sides.
1.1. Measure the board that will serve as the bottom cover. Add the length of the shelf (78.5 cm) and twice the thickness of the interior sides (5 cm). The result will be 83.5 cm. Divide this number by two to get 41.7 cm. Measure and mark this distance from each end; At each mark, draw a line perpendicular to the board.
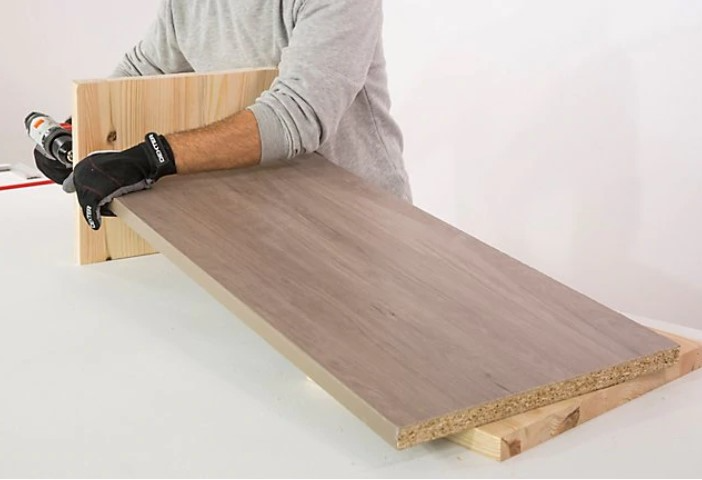

1.2. It presents the board that will serve as a shelf next to the sides. It should be halfway up from each one. Ask for help holding the pieces in place while you screw them on.


1.3. Screw the inner sides to the shelf by inserting three screws from the outside.

Step 2
Form the body of the cabinet: Join the boards with screws
Reserve the interior piece of furniture and start building the body. The idea is to join the outer sides to the lower lid (which serves as the base of the furniture) and then fix the inner piece. Close everything at the top with the remaining cover.
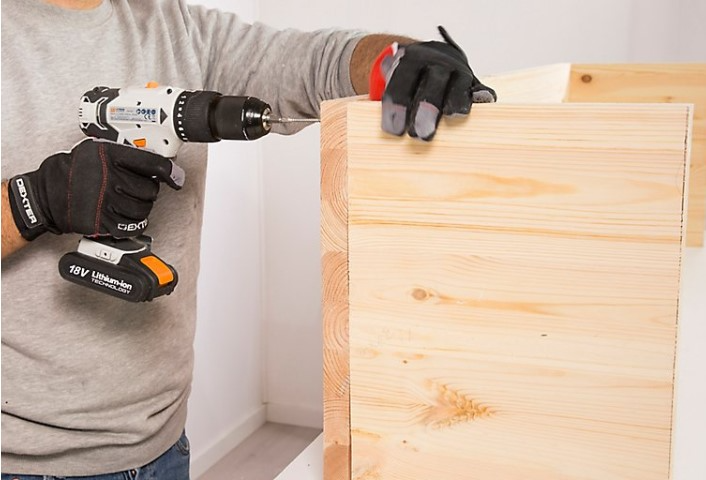
2.1. Present on the table the table you have marked at the beginning of the board, with the pencil marks facing up. Place the side boards on the ends and screw them on. Do this by positioning the board sideways and inserting the screws from the outside.


2.2. With the furniture in the same position, ask for help to insert the interior piece with the shelf and the sides (the one you have reserved). Verify that the sides match the pencil marks on the board. When everything is in place, screw the inner sides to the base from the outside. Finish off by placing the top cover and fixing it with screws.


Step 3
Attach the rear, the legs and the doors. Ready for the living room!
The body of the TV cabinet is already built: solid, strong and elegant. But it needs a few more details to be perfect. Low sloping legs will give it lightness and modernity, and the doors will keep everything safe.
3.1. Flip the body of the cabinet and place the back up. Fit the 29 x 30 cm red boards on each side and screw them to the back edge of the inner sides. Fix the three white 30 x 30 cm caps in the center, closing the hole completely. Screw them to the rear edge of the shelf and reinforce them by inserting screws from the bottom cover of the cabinet.
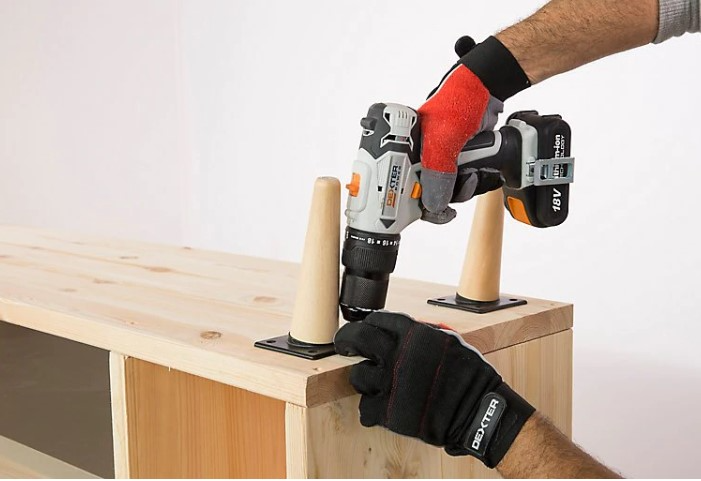

3.2. The angled tapered legs will give the cabinet a touch of style. Screw two of them on each side, leaving 10 mm of separation with the edges of the table. Watch that they are inclined in the same direction. Place a fifth reinforcing leg at the back of the cabinet, right in the center.
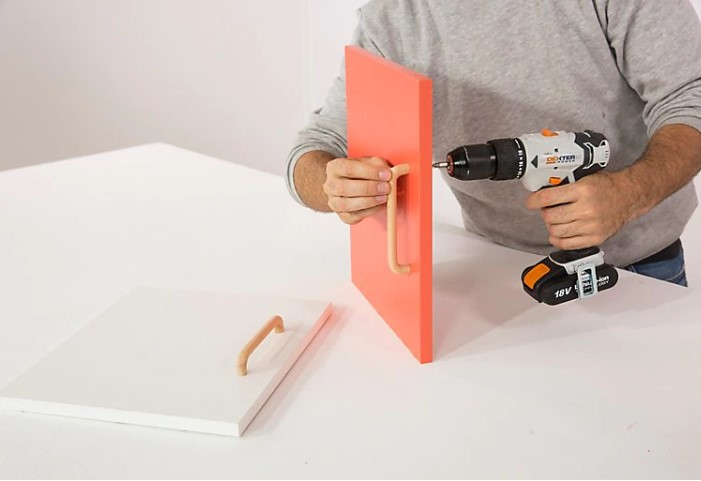

3.3. Before attaching the doors, screw in the handles from inside the dashboards. Measure well so they are centered. To insert the screws, mark and drill the boards with a # 5 drill bit.
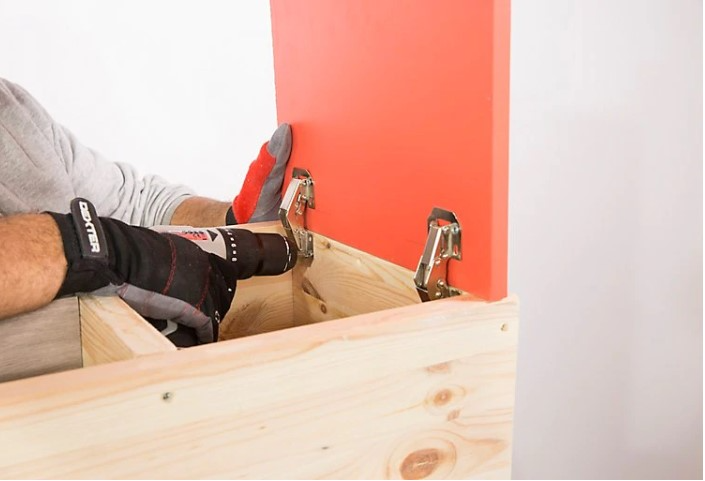

3.4. Attach the doors to the sides with spring hinges. Make sure that the screws do not exceed 10 mm in length to avoid protruding from the outside.
Furniture finished! In order for the wood to last a long time in good condition, it is recommended to sand it carefully and apply two coats of matt colorless acrylic varnish. Although it is an invisible finish, it will protect the surface from stains, fingerprints ... Thus, your TV cabinet will stay like new for a long time.
